1
Props / Scratch-built TOS Exploration Set
« on: September 20, 2019, 05:24:45 pm »
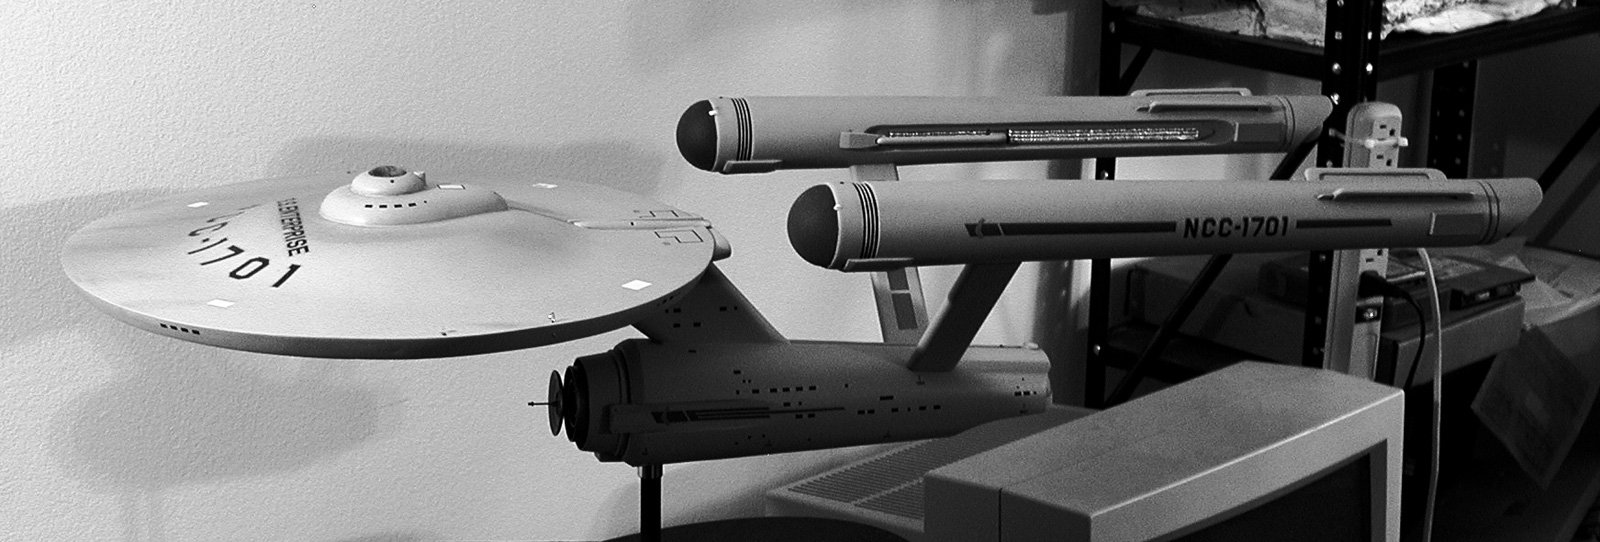
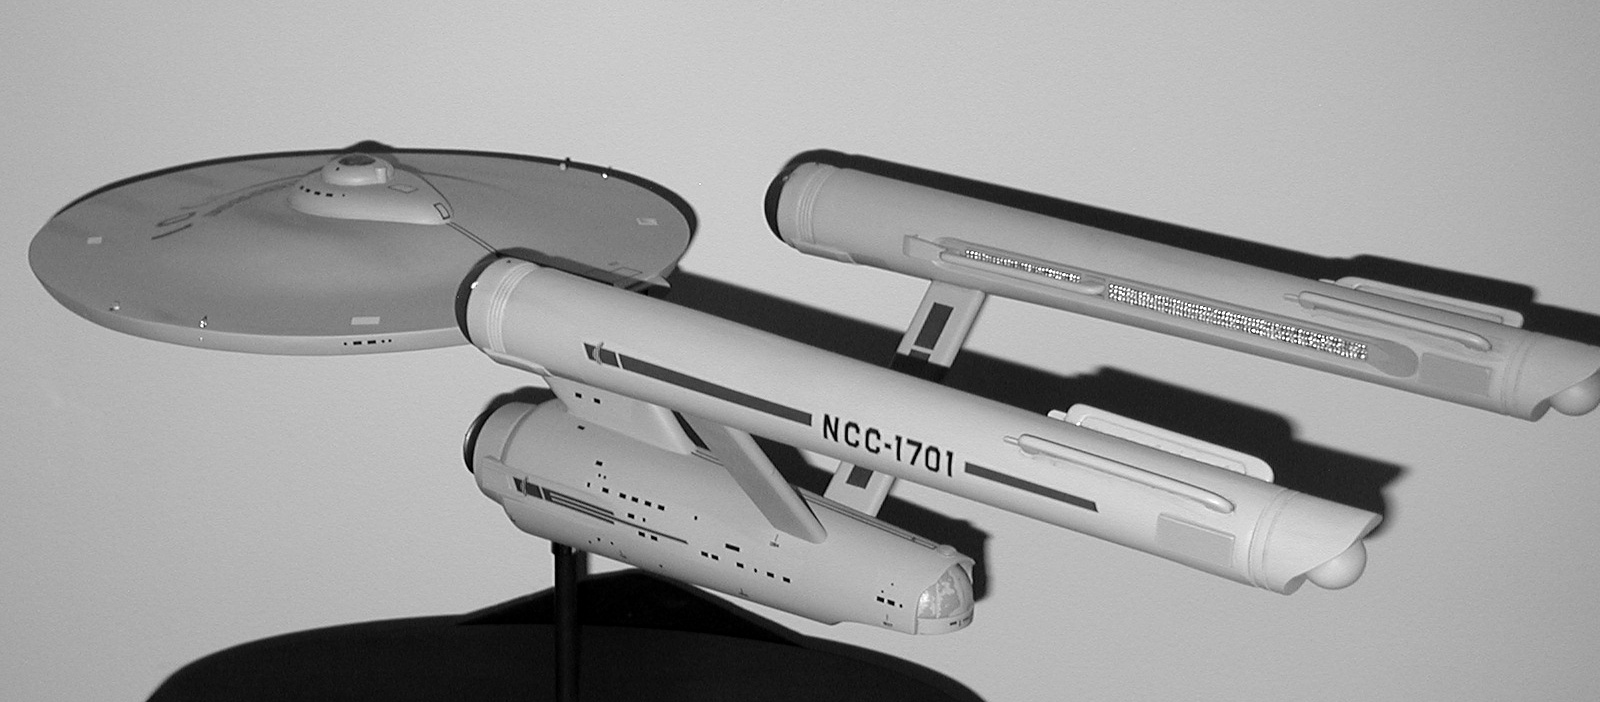
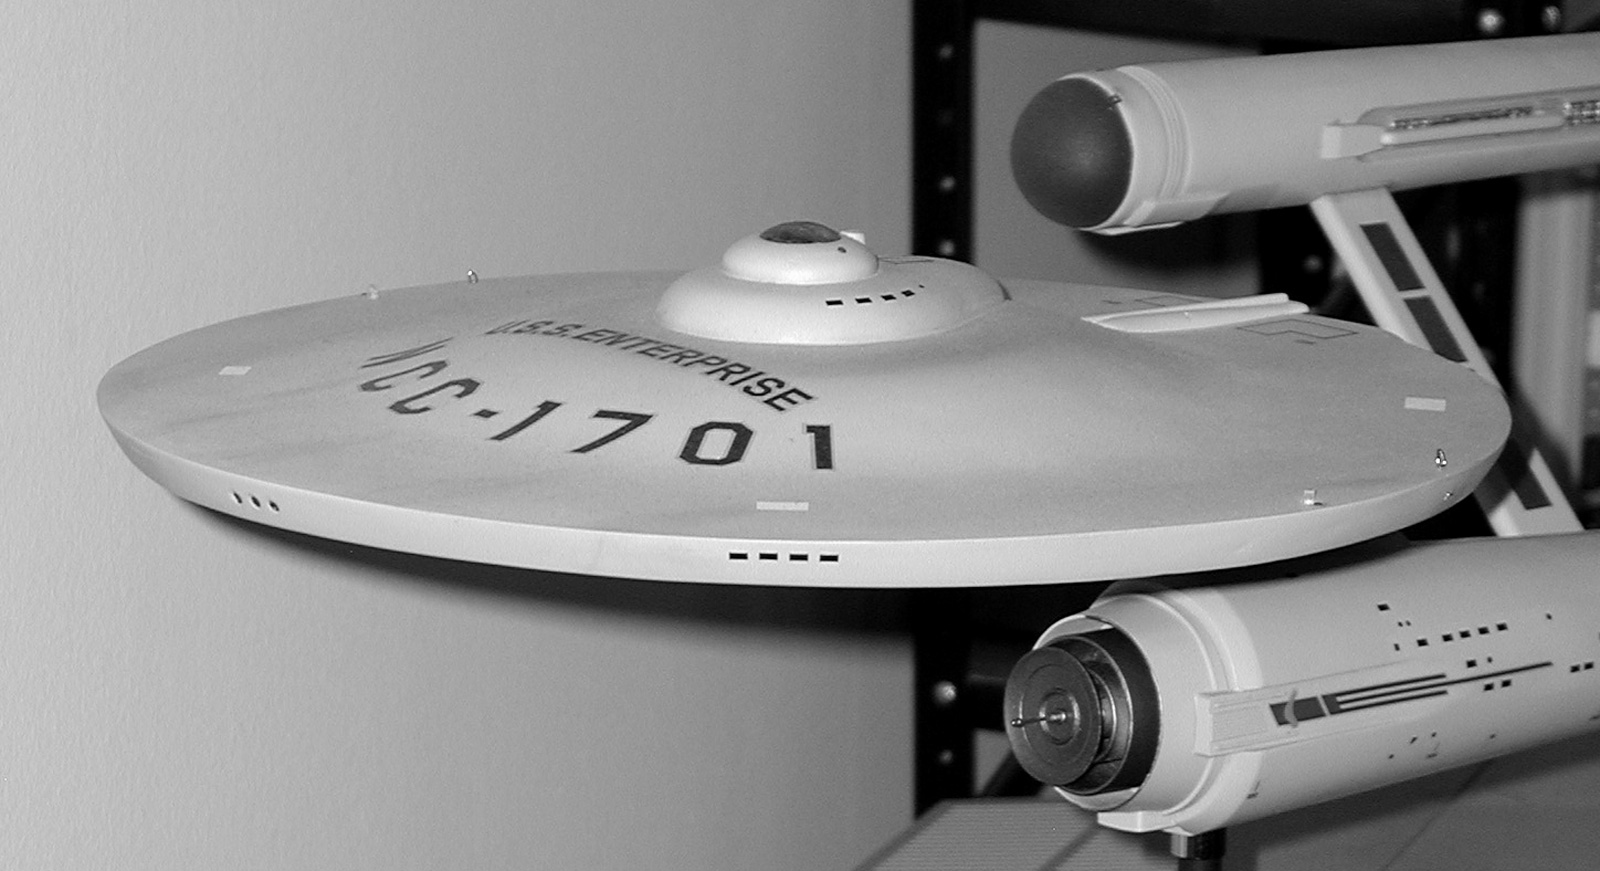
A few years ago I had to take a break from model building for awhile for health reasons. When I wanted to try finishing my 33 inch Enterprise, my wife suggested that I start back in with something a bit smaller and less stressful.
So what came to mind was a TOS Type I Phaser!
I gathered some references and figured out what I wanted the final piece to look like...


From there I scratch together masters of the parts I'd need and made molds...

And then cast parts to build a couple of them...

In the end, this is what I ended up with...


But that isn't what this thread is about!
Like many of us, I get into a nostalgic mood from time to time. And recently I was thinking about the old AMT Exploration Set kit that I built as a kid (around 1976). I noticed that Round 2 had re-released it and I took a long look at some photos of the parts to pre-plan what I might modify if I bought one.
Then I saw the price... ummm, I couldn't afford it.
But I never let that stop me before (I had just thrown together a Type I Phaser a couple months earlier), so I tried to figure out if I could scratch build the set. And because there are tons of full size prop replicas out there, I decided to attempt to match the AMT kit's scale (about two-thirds from what I could tell). I gathered together drawings and photos and started in.
Not having a printer (or at least ink for my printer), I just freehanded the shapes and started building masters.
I started with elements of the tricorder and communicator...

And later jumped into doing the phaser (I wasn't as worried about that as I've built a few of them in the past).
I made molds of the main tricorder parts and did a test pull to see how it was coming together (below is just a quick-n-dirty assembly of those test parts). I also have made some good progress on the phaser masters.

Here are the first pulls of my phaser parts...
... except for the emitter assembly, that is the master painted silver. The first emitter assembly is being made in clear and had to cure for a few days. I still have some puttying to do before I paint them, but this should sorta show what I'm aiming for.
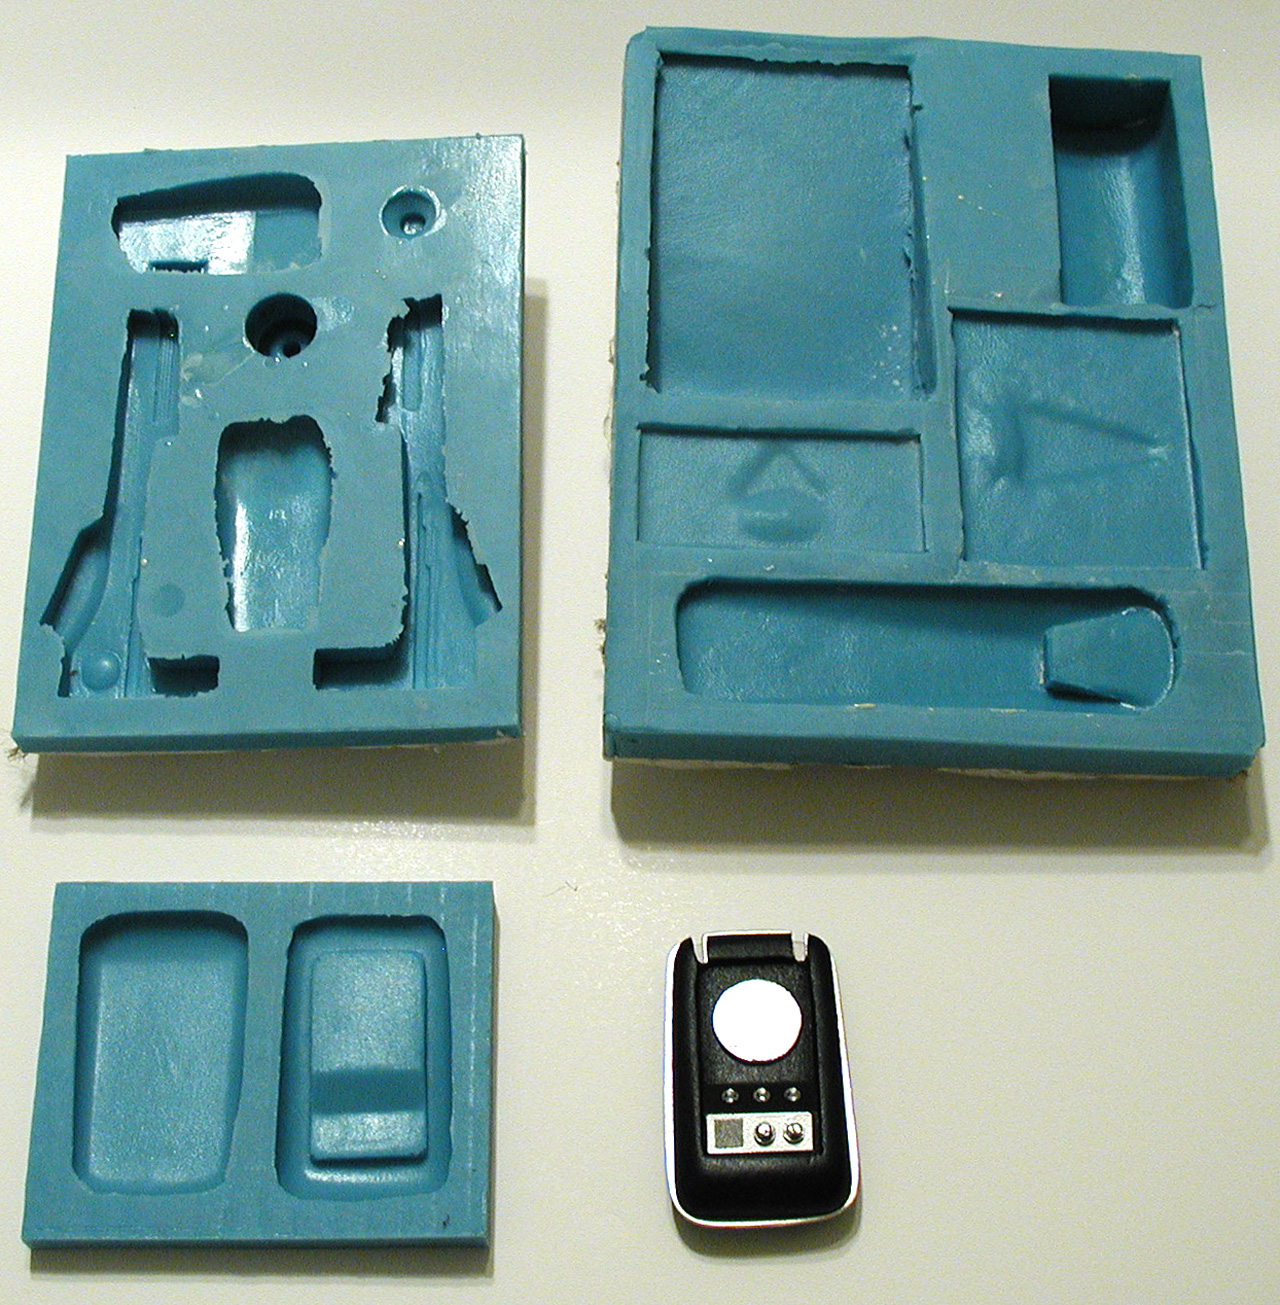
Here is a shot of the molds for most of the pieces and the communicator (with the parts just sitting in place)...
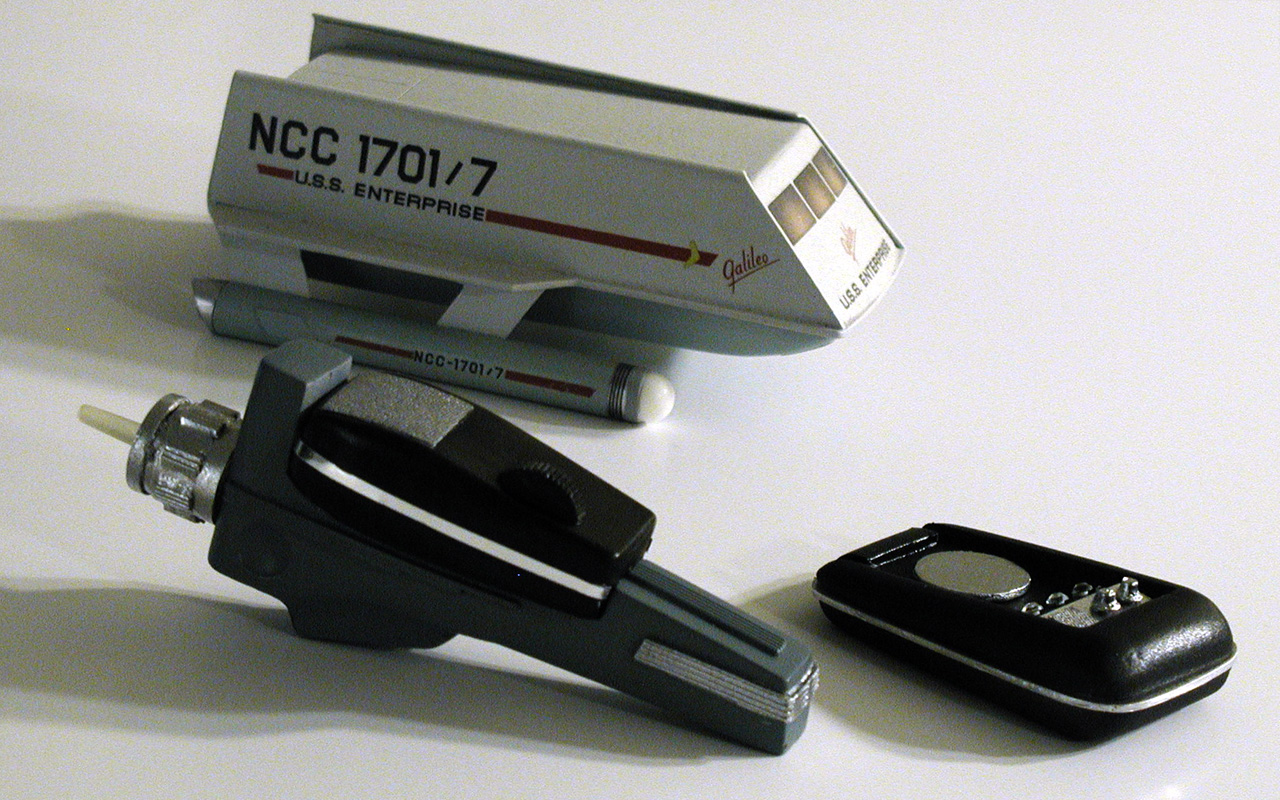
Here is a shot of the phaser body with the communicator (again, with the parts just sitting in place) and the Galileo (that is my one-quarter studio scale scratch-built study model, which is a little over 5 inches long)...
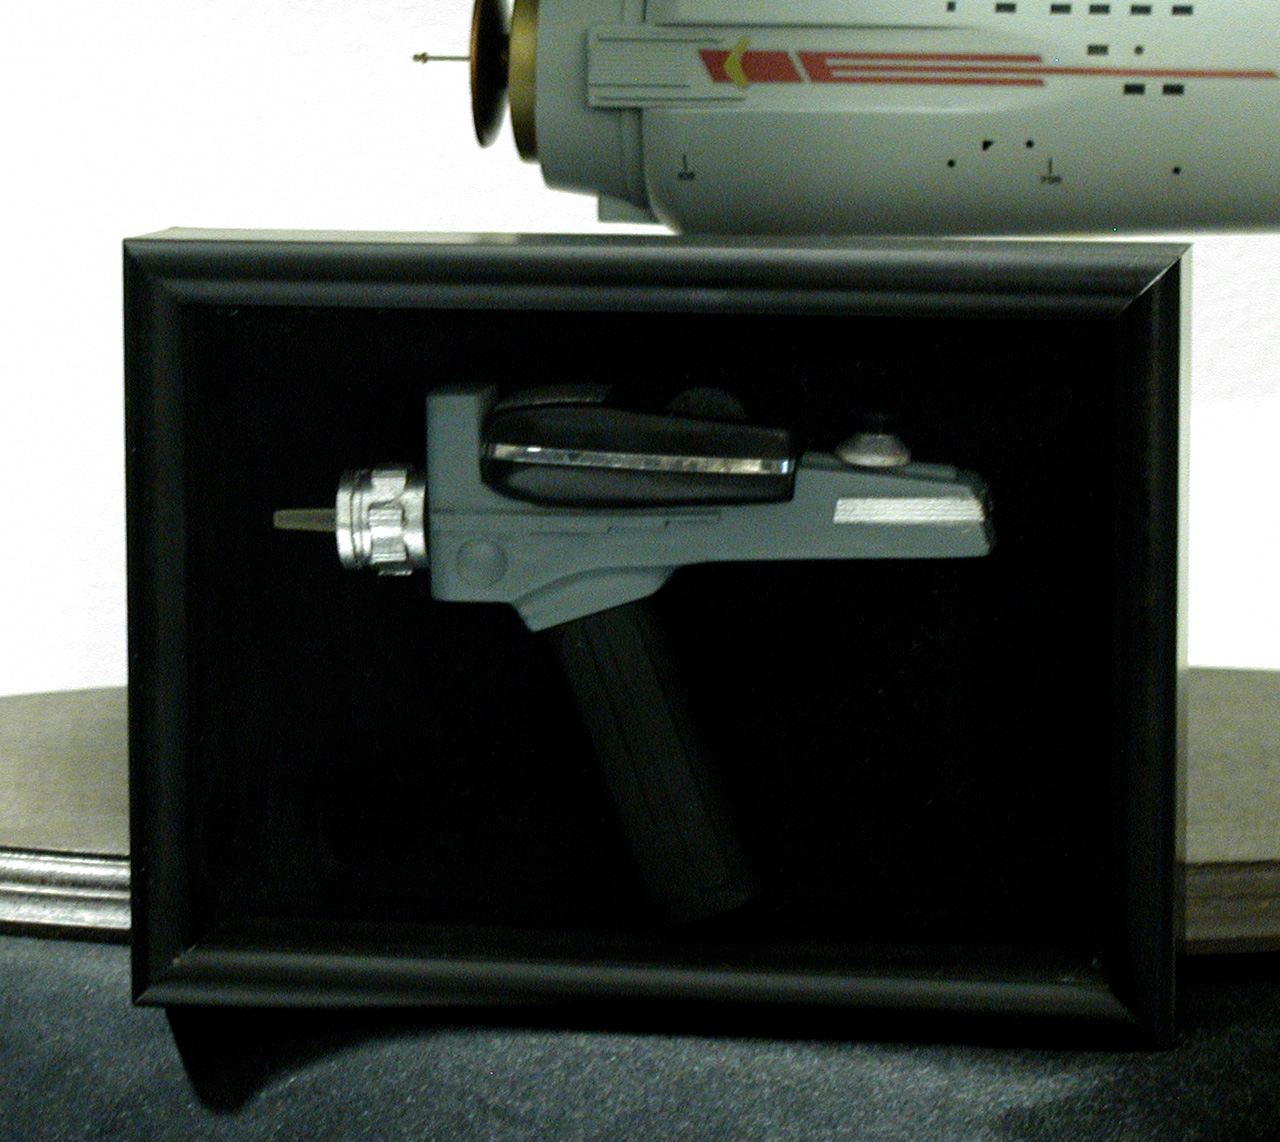
Here is some more progress shots, this one with the unfinished phaser in a shadow box display...
and the phaser with test assemblies of the other pieces...
The communicator lid is actually the shape I'll be using to form a photo-etched screen later on. I just painted it for the fun of it.
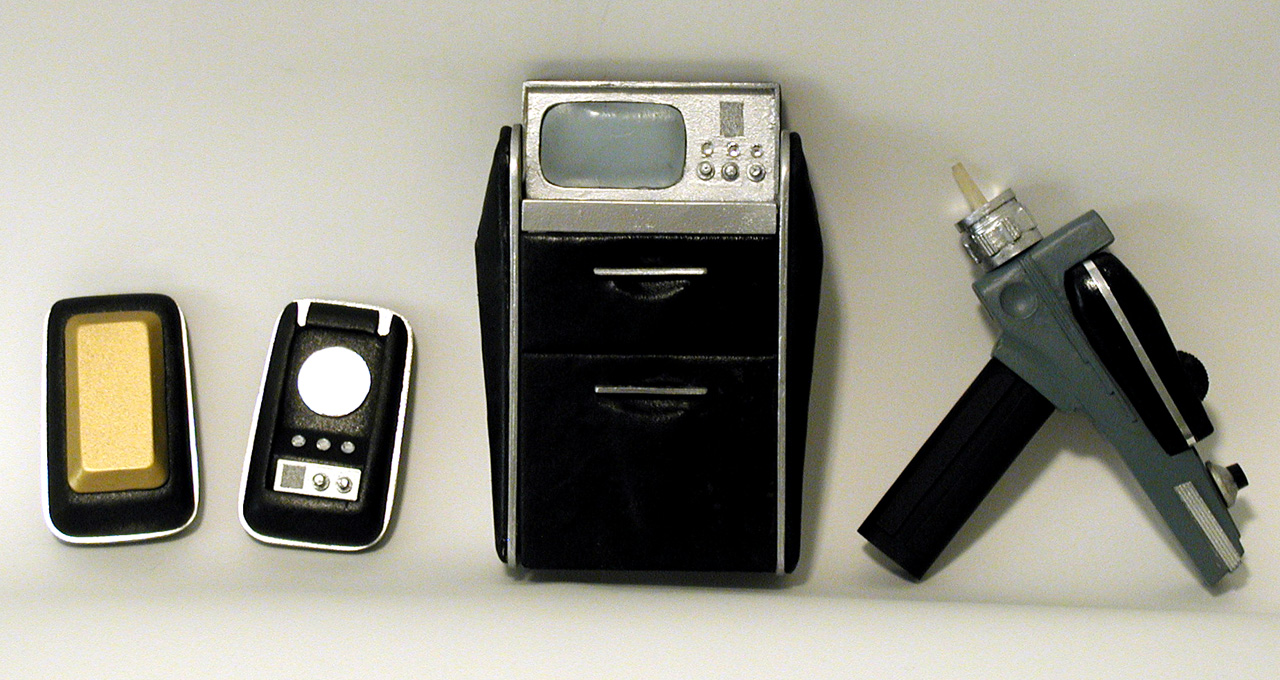
And another group photo...
The tricorder still has a lot of work needed, but I think it is showing what I'm aiming for.
Still a ways to go, but I'm pretty happy with the results so far.
So what came to mind was a TOS Type I Phaser!
I gathered some references and figured out what I wanted the final piece to look like...
From there I scratch together masters of the parts I'd need and made molds...
And then cast parts to build a couple of them...
In the end, this is what I ended up with...
But that isn't what this thread is about!
Like many of us, I get into a nostalgic mood from time to time. And recently I was thinking about the old AMT Exploration Set kit that I built as a kid (around 1976). I noticed that Round 2 had re-released it and I took a long look at some photos of the parts to pre-plan what I might modify if I bought one.
Then I saw the price... ummm, I couldn't afford it.
But I never let that stop me before (I had just thrown together a Type I Phaser a couple months earlier), so I tried to figure out if I could scratch build the set. And because there are tons of full size prop replicas out there, I decided to attempt to match the AMT kit's scale (about two-thirds from what I could tell). I gathered together drawings and photos and started in.
Not having a printer (or at least ink for my printer), I just freehanded the shapes and started building masters.
I started with elements of the tricorder and communicator...
And later jumped into doing the phaser (I wasn't as worried about that as I've built a few of them in the past).
I made molds of the main tricorder parts and did a test pull to see how it was coming together (below is just a quick-n-dirty assembly of those test parts). I also have made some good progress on the phaser masters.
Here are the first pulls of my phaser parts...

... except for the emitter assembly, that is the master painted silver. The first emitter assembly is being made in clear and had to cure for a few days. I still have some puttying to do before I paint them, but this should sorta show what I'm aiming for.
Here is a shot of the molds for most of the pieces and the communicator (with the parts just sitting in place)...
Here is a shot of the phaser body with the communicator (again, with the parts just sitting in place) and the Galileo (that is my one-quarter studio scale scratch-built study model, which is a little over 5 inches long)...
Here is some more progress shots, this one with the unfinished phaser in a shadow box display...
and the phaser with test assemblies of the other pieces...
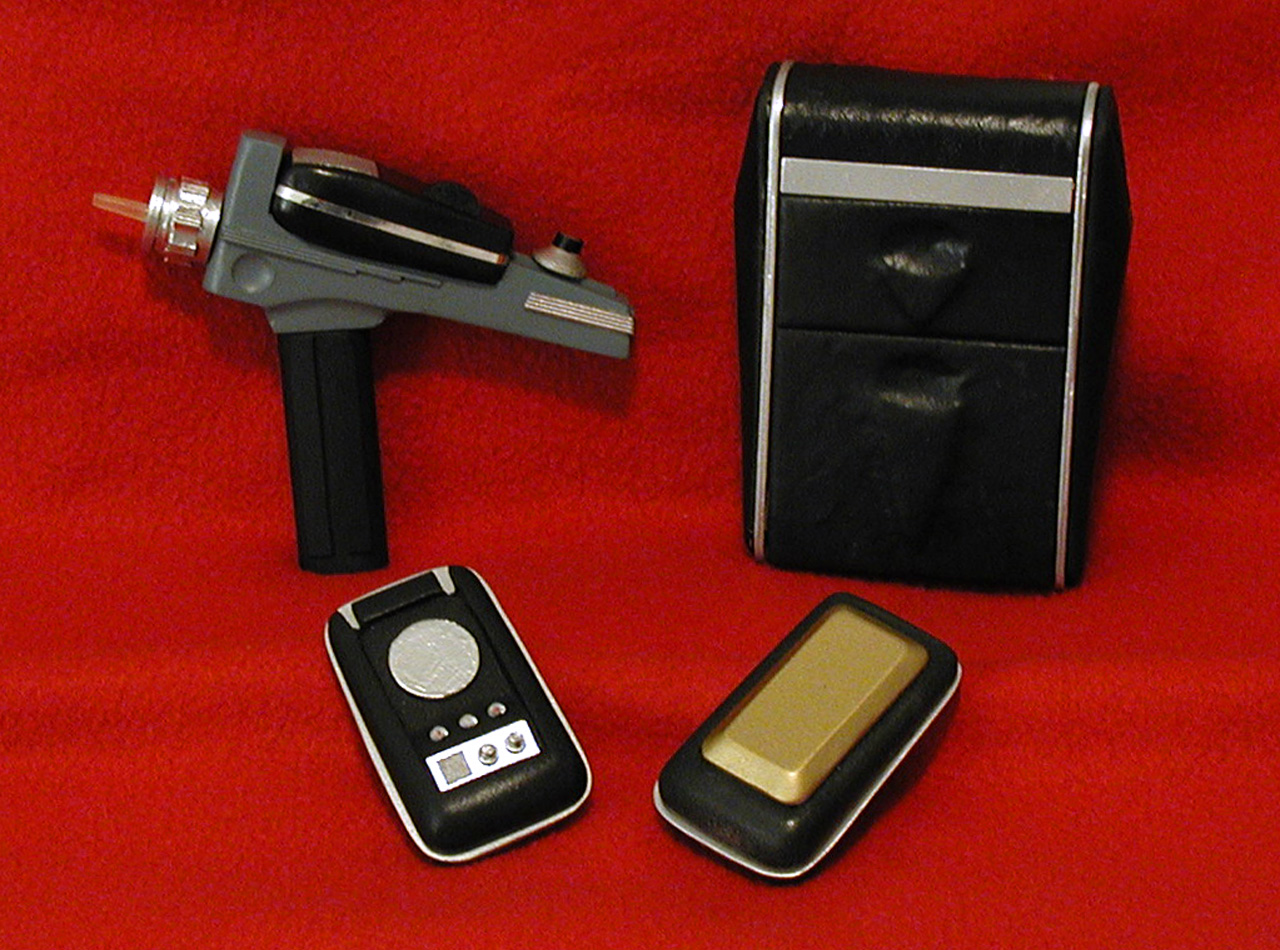
The communicator lid is actually the shape I'll be using to form a photo-etched screen later on. I just painted it for the fun of it.
And another group photo...
The tricorder still has a lot of work needed, but I think it is showing what I'm aiming for.
Still a ways to go, but I'm pretty happy with the results so far.